
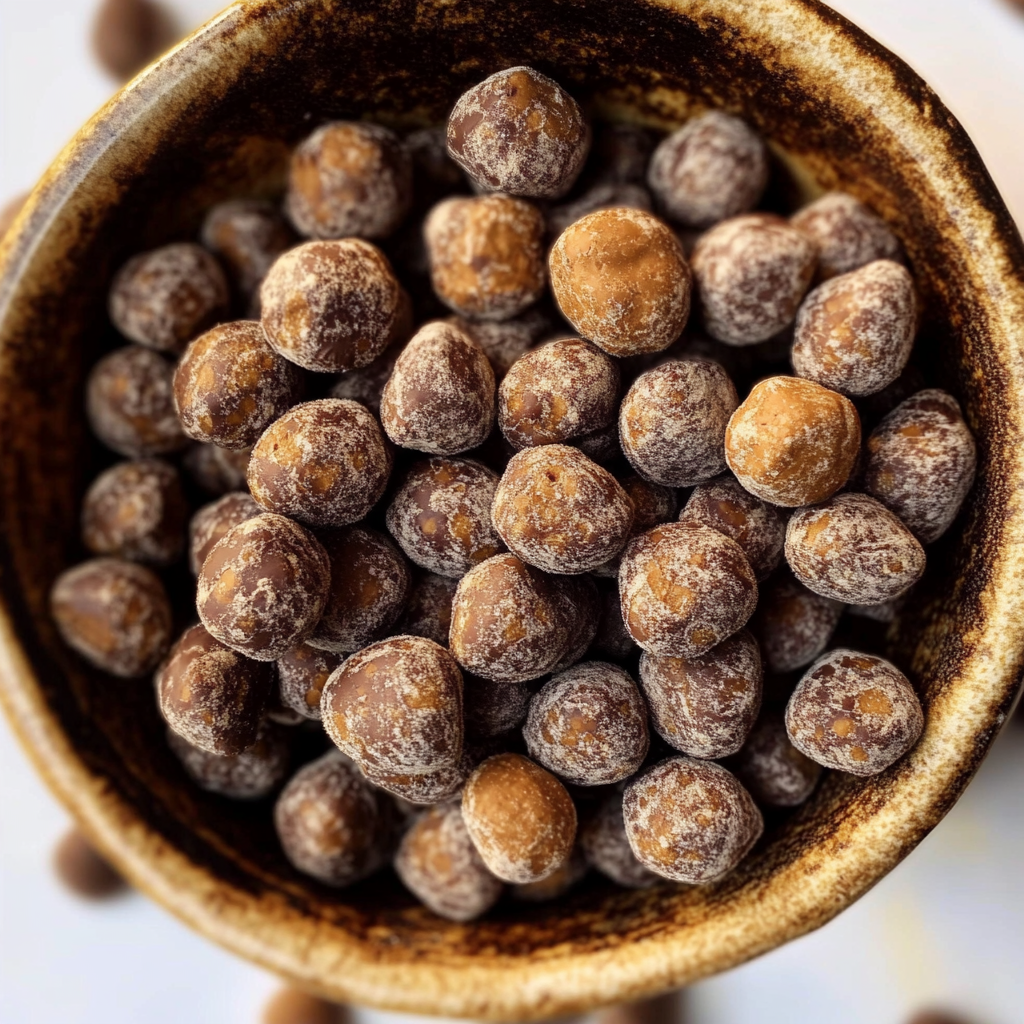
This Chocolate Cereal (Homemade Cocoa Puffs) is a delightful treat that both kids and adults will love! With just four simple ingredients, it’s a guilt-free breakfast option that’s gluten-free, dairy-free, and refined sugar-free. Perfect for busy mornings or as a snack, these homemade cocoa puffs are not only tasty but also easy to make. Enjoy them with your favorite dairy-free milk or as a crunchy topping on yogurt!
Why You’ll Love This Recipe
- Quick and Easy: This chocolate cereal takes only 30 minutes to prepare, making it a convenient choice for any day of the week.
- Healthy Ingredients: Made with wholesome pantry staples, this recipe avoids processed sugars and unhealthy additives.
- Versatile Snack: Great for breakfast, dessert, or an anytime snack; these cocoa puffs fit right into your day.
- Kid-Friendly: Children love the fun shapes and chocolatey flavor, making it easier to get them excited about breakfast!
- Customizable: Feel free to switch out nut/seed butter or add in extras like dried fruit or seeds for added flavor.
Tools and Preparation
Before you dive into making your chocolate cereal, gather the necessary tools. Having everything ready will make the process smoother.
Essential Tools and Equipment
- Mixing bowl
- Spoon or spatula
- Baking sheet
- Parchment paper or silicone mat
- Knife
Importance of Each Tool
- Mixing bowl: Essential for combining all ingredients thoroughly and creating your dough.
- Baking sheet: Provides an even surface for baking your cereal balls, ensuring they cook evenly.
- Parchment paper or silicone mat: Prevents sticking and makes cleanup easier after baking.
Ingredients
This healthy chocolate cereal has just 4 ingredients and is gluten-free, dairy-free, and refined sugar-free, made with simple, wholesome pantry staples. Both kids and adults will love these homemade cocoa puffs!
For the Chocolate Cereal
- 2/3 cup oat flour (gluten-free if needed)
- 3 Tbsp maple syrup (or any other liquid sweetener)
- 3 1/2 Tbsp nut/seed butter (of choice)
- 2 1/2 Tbsp cocoa powder (or cacao powder)
How to Make Chocolate Cereal (Homemade Cocoa Puffs)
Step 1: Combine Wet Ingredients
- In a mixing bowl, combine the nut/seed butter and maple syrup. Stir until well blended.
Step 2: Add Dry Ingredients
- Add in the oat flour and cocoa powder. Mix again until combined.
Step 3: Form Dough
- Use your hands to shape the mixture into a dough. Adjust consistency by adding more maple syrup/nut butter if too dry or more oat flour if too wet.
Step 4: Preheat Oven
- Preheat your oven to 320 °F (160 °C).
- Line a large baking sheet with parchment paper or a silicone mat.
Step 5: Shape Dough
- Divide the dough into four pieces.
- Roll each piece into ropes about 1 inch (2.5 cm) thick.
Step 6: Cut into Pieces
- Use a knife to cut the ropes into smaller sections of about ½-¾ inch thick.
- Roll each piece into small balls using your hands.
Step 7: Bake
- Transfer the cereal balls onto the prepared baking sheet with space in between each.
- Bake for about 10 minutes until firm but careful not to overbake as they can burn.
Step 8: Cool and Serve
- Allow your homemade cocoa puffs to cool completely before enjoying.
- Serve with your favorite dairy-free milk or add fresh fruit for extra flavor!
Now you have delicious Chocolate Cereal (Homemade Cocoa Puffs) ready to enjoy any time of day!
How to Serve Chocolate Cereal (Homemade Cocoa Puffs)
Chocolate cereal, or homemade cocoa puffs, is a delightful and versatile treat that can be enjoyed in various ways. Whether you prefer it as a breakfast option or a fun snack, these chocolatey bites are sure to please!
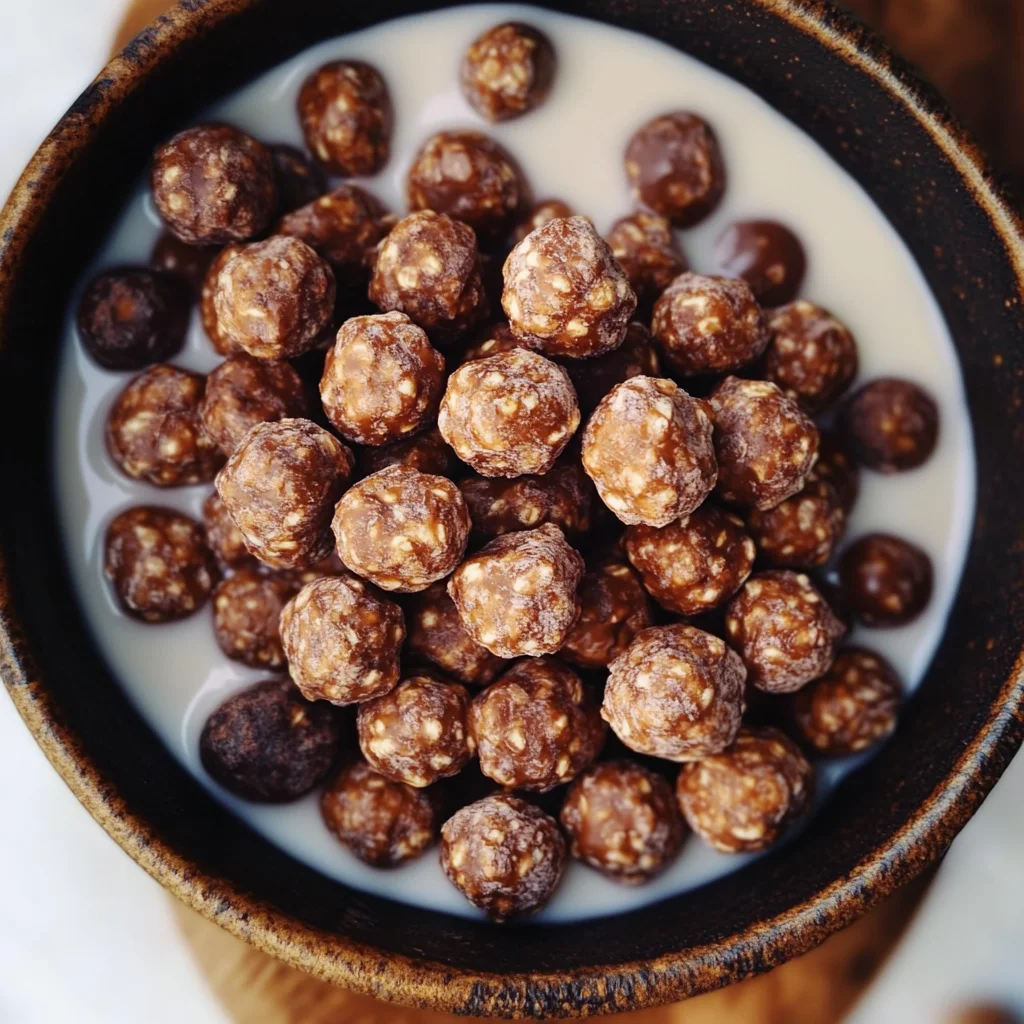
With Dairy-Free Milk
- Pour your favorite dairy-free milk over the chocolate cereal for a classic breakfast experience. Almond, oat, or coconut milk work great!
As a Snack
- Enjoy the chocolate puffs straight from the bowl as an on-the-go snack. They are perfect for kids and adults alike!
Mixed with Fruit
- Add fresh fruit like bananas, berries, or apples to your chocolate cereal for added flavor and nutrition. It enhances both taste and texture.
In Yogurt Parfaits
- Layer chocolate cereal in yogurt with fruits and nuts for a delicious parfait. This makes for a nutritious breakfast or dessert option.
As Toppings
- Use the chocolate puffs as a topping on smoothie bowls or desserts. Their crunch adds an exciting element to any dish.
For Baking
- Incorporate crushed chocolate cereal into cookie or brownie batter for a unique twist on traditional recipes. It adds flavor and texture!
How to Perfect Chocolate Cereal (Homemade Cocoa Puffs)
Creating the perfect chocolate cereal requires attention to detail. Here are some tips to ensure your homemade cocoa puffs turn out amazing!
- Use Fresh Ingredients: Ensure all ingredients are fresh for optimal flavor. Stale cocoa powder can affect the taste of your cereal.
- Adjust Sweetness: Customize the sweetness by adding more or less maple syrup based on your preference. Taste the dough before baking!
- Knead Thoroughly: Make sure to knead the dough well until it’s smooth but not sticky. This helps in forming uniform balls.
- Watch Baking Time: Keep an eye on your cocoa puffs while baking. They should be firm but not dark brown; overbaking can lead to burnt pieces.
- Cool Completely: Allow the baked puffs to cool entirely before storing them. This helps maintain their crunchiness.
- Store Properly: Keep your chocolate cereal in an airtight container at room temperature to keep them fresh longer.
Best Side Dishes for Chocolate Cereal (Homemade Cocoa Puffs)
Pairing side dishes with your chocolate cereal can elevate your meal experience. Here are some tasty options:
- Fresh Fruit Salad: A mix of seasonal fruits adds freshness and balances the sweetness of the cereal.
- Nut Butter Toast: Spread almond or peanut butter on whole grain toast for added protein that pairs perfectly with chocolate flavors.
- Smoothie Bowl: Blend your favorite fruits with dairy-free milk and top it with chocolate puffs for extra crunch.
- Granola Bars: Homemade granola bars can complement the cereal nicely; they provide chewy texture alongside crunchy bites.
- Oatmeal: A warm bowl of oatmeal topped with chocolate puffs introduces rich flavors and different textures.
- Chia Pudding: Serve chia pudding made with dairy-free milk for a creamy contrast alongside crispy cocoa puffs.
- Yogurt Dip: Create a yogurt dip flavored with vanilla or cocoa powder for dipping your chocolate puffs!
- Trail Mix: Combine nuts, seeds, and dried fruits with leftover cocoa puffs for an energy-boosting snack!
Common Mistakes to Avoid
Making chocolate cereal at home can be a fun and rewarding experience. However, avoiding common mistakes can help ensure your cocoa puffs turn out perfectly every time.
- Incorrect Measurements: Always measure your ingredients accurately. Too much oat flour can make the dough dry, while too much nut/seed butter can lead to a sticky mixture.
- Skipping the Cooling Step: Be patient and allow the chocolate cereal balls to cool completely after baking. This is essential for achieving the right texture; they will firm up as they cool.
- Overbaking the Cereal: Keep an eye on your cocoa puffs while they bake. Overbaking can lead to burnt cereal that is no longer enjoyable.
- Not Using Parchment Paper: Always line your baking sheet with parchment paper or a silicone mat. This prevents sticking and ensures easy removal of your chocolate cereal.
- Ignoring Dough Consistency: Pay attention to how the dough feels. If it’s too dry or wet, adjust with additional maple syrup or oat flour accordingly.
Refrigerator Storage
- Store in an airtight container for up to 1 week.
- Ensure the cereal is completely cooled before sealing to avoid moisture buildup.
Freezing Chocolate Cereal (Homemade Cocoa Puffs)
- Place in a freezer-safe container or bag for up to 3 months.
- Separate layers with parchment paper to prevent sticking.
Reheating Chocolate Cereal (Homemade Cocoa Puffs)
- Oven: Preheat to 350°F (175°C). Bake for about 5 minutes until warmed through.
- Microwave: Heat in short bursts of 15-20 seconds, checking frequently to avoid overheating.
- Stovetop: Add a splash of dairy-free milk in a pan and warm over low heat, stirring gently until heated.
Frequently Asked Questions
How do I make Chocolate Cereal (Homemade Cocoa Puffs) gluten-free?
You can easily make this recipe gluten-free by using certified gluten-free oat flour as indicated in the ingredients.
Can I use other nut/seed butters?
Yes! Almond butter, cashew butter, or sunflower seed butter are great alternatives that will work well in this recipe.
How do I customize my Chocolate Cereal (Homemade Cocoa Puffs)?
Feel free to add spices like cinnamon or vanilla extract for extra flavor. You may also mix in seeds or dried fruits for added texture and nutrition.
What is the best way to serve Chocolate Cereal?
Enjoy your chocolate cereal with your favorite dairy-free milk or sprinkle some fresh fruit on top for a nutritious breakfast!
Can I use cacao powder instead of cocoa powder?
Absolutely! Cacao powder is a great substitute and offers a richer flavor profile while maintaining health benefits.
Final Thoughts
This homemade chocolate cereal recipe is not only simple but also versatile, appealing to both kids and adults alike. Customize it with different nut butters or toppings for a unique twist each time you make it. Give it a try and enjoy delicious homemade cocoa puffs that are healthy and satisfying!

Chocolate Cereal (Homemade Cocoa Puffs)
- Total Time: 20 minutes
- Yield: Approximately 4 servings 1x
Description
Indulge in a delightful, homemade breakfast with this Chocolate Cereal (Homemade Cocoa Puffs) recipe. With just four simple ingredients, these crunchy cocoa bites are not only quick and easy to prepare but also guilt-free—gluten-free, dairy-free, and refined sugar-free! Perfect for busy mornings or as a tasty snack, they can be enjoyed with your favorite dairy-free milk, sprinkled on yogurt, or straight from the bowl. Kids will adore their fun shapes and rich chocolate flavor, while adults will appreciate the wholesome ingredients. Customize them by adding your favorite nuts or dried fruits for extra flair!
Ingredients
- 2/3 cup oat flour (gluten-free if needed)
- 3 tablespoons maple syrup (or any liquid sweetener)
- 3 ½ tablespoons nut or seed butter of choice
- 2 ½ tablespoons cocoa powder (or cacao powder)
Instructions
- In a mixing bowl, combine the nut/seed butter and maple syrup until well blended.
- Add oat flour and cocoa powder; mix until combined.
- Shape the mixture into a dough. Adjust consistency with more syrup or flour as needed.
- Preheat oven to 320°F (160°C) and line a baking sheet with parchment paper.
- Divide dough into four pieces; roll each into ropes about 1 inch thick.
- Cut ropes into smaller sections (½-¾ inch thick) and roll into small balls.
- Bake on the prepared sheet for about 10 minutes until firm, watching closely to avoid overbaking.
- Cool completely before serving with dairy-free milk or fresh fruit.
- Prep Time: 10 minutes
- Cook Time: 10 minutes
- Category: Snack
- Method: Baking
- Cuisine: American
Nutrition
- Serving Size: 1 serving
- Calories: 110
- Sugar: 3g
- Sodium: 2mg
- Fat: 5g
- Saturated Fat: 1g
- Unsaturated Fat: 4g
- Trans Fat: 0g
- Carbohydrates: 14g
- Fiber: 2g
- Protein: 3g
- Cholesterol: 0mg